
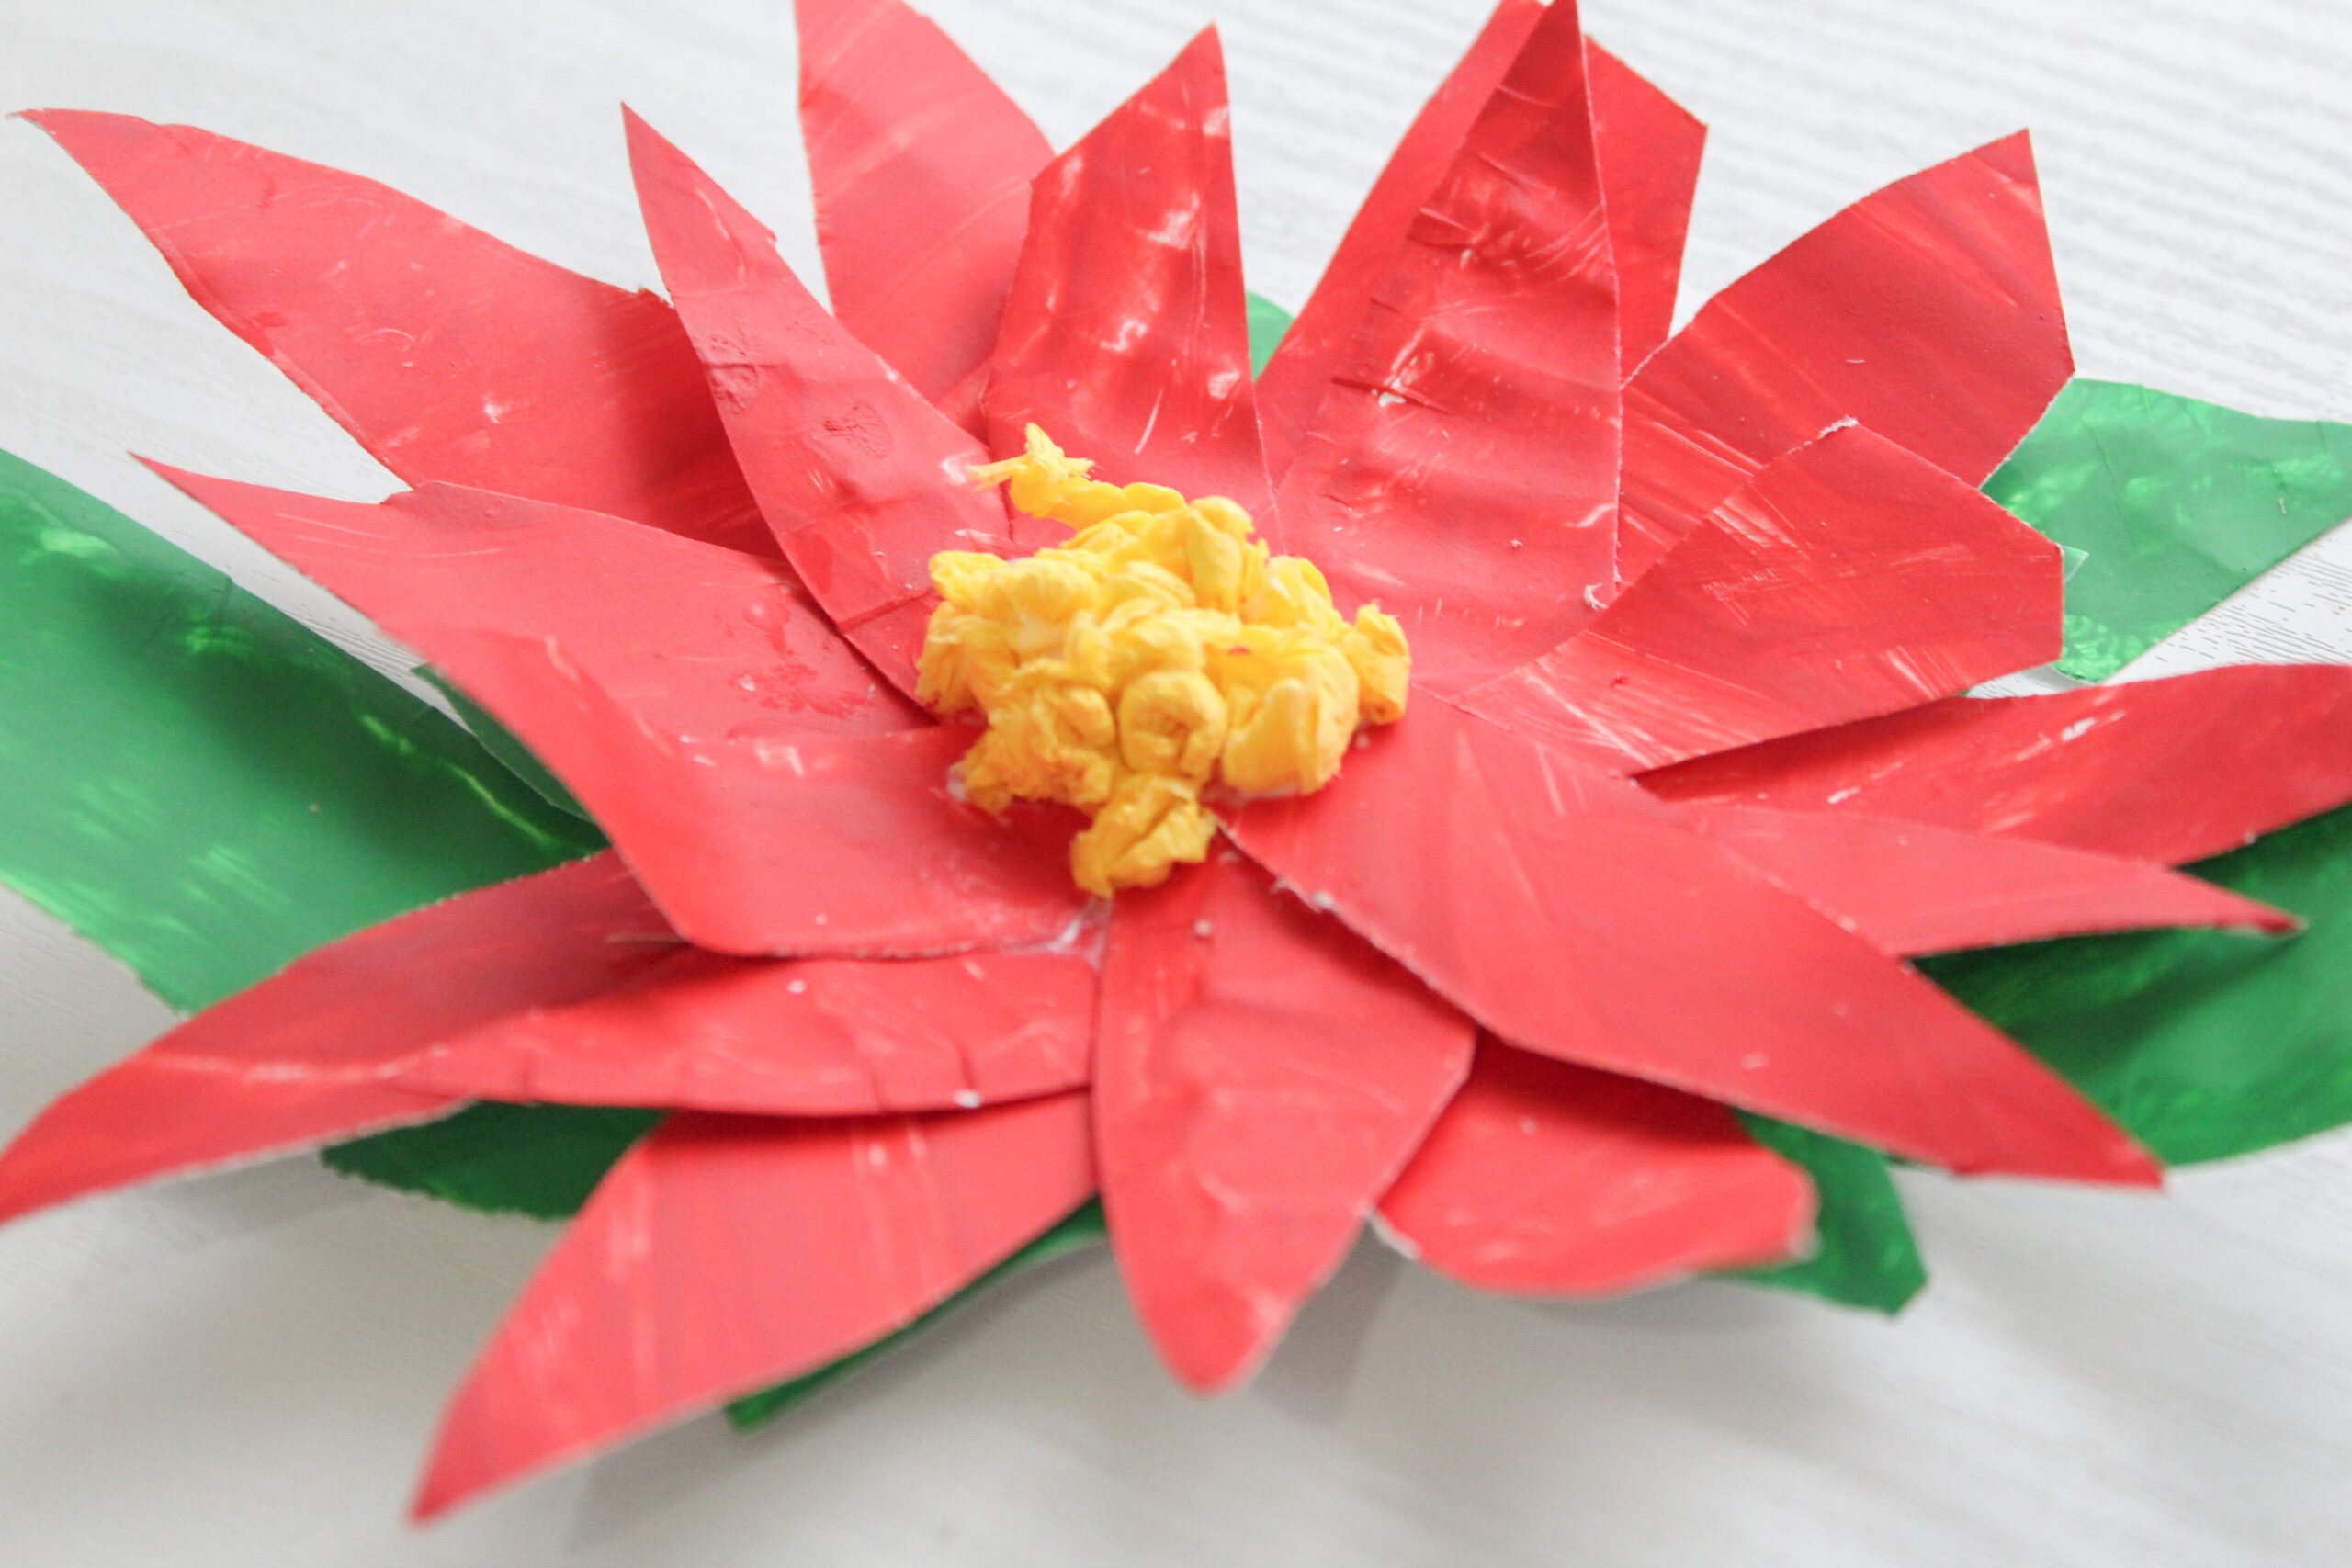
Paper Plate Poinsettia Craft for Kids (Free Template)
As an Amazon Associate I earn from qualifying purchases.
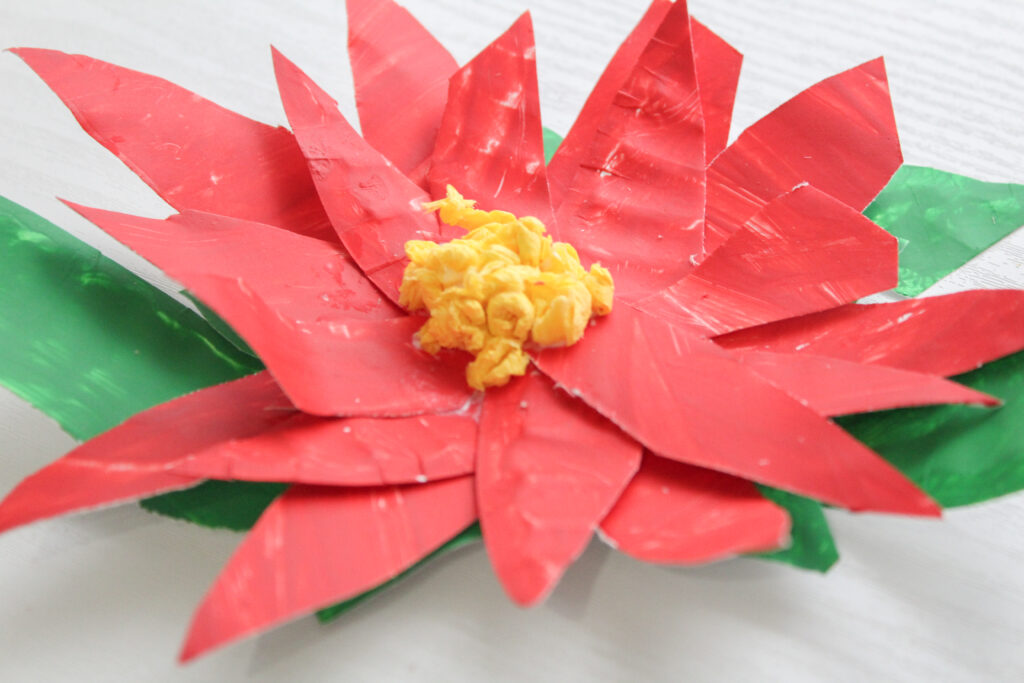
This paper plate poinsettia craft for kids is a fun, festive, hands-on activity that looks beautiful but won’t break the bank. It uses a household staple to create a lovely, bright Christmas decoration. My 4- to 10-year-olds can do this project with just a little help, and I’m including tips to adjust it for different ages, too.
Plus, I’m sharing my free printable template to take the guesswork out of cutting leaves and bracts! I’m a visual person, so I’ve also included step-by-step photos for your students to reference. I like adding a little knowledge to our art time, so you’ll also find a list of fun facts within this article. This poinsettia craft for kids is a great addition to any Christmas unit study. It’s also a fun way to celebrate National Poinsettia Day, which falls on December 12!
Disclaimer: This article may contain commission, paid partnerships, or affiliate links. We independently review everything we recommend. When you buy through our links, we may earn a commission from qualifying purchases.
Why Kids Love This Paper Plate Poinsettia Craft
This Christmas flower craft works well for budget-conscious homeschool families. It uses inexpensive supplies that you may already have in your craft cabinet. Paper plate poinsettias aren’t just beautiful, though. They also give children practice with scissor control, fine motor skills, color recognition, and following instructions.
Each child can arrange their leaves and bracts differently, giving them a chance to show their unique style. Depending on your needs, you can use this as an individual activity, sibling connection time, or even adapt it for a homeschool co-op. I found that a lot of easy Christmas crafts for kids involved drawing things from scratch. This tutorial includes a free poinsettia template, so you don’t have to draw leaves and bracts yourself. Complete it as a standalone craft, or pair it with a botany, geography, or Christmas lesson.
Fun Poinsettia Facts for Kids
Most people have no clue about poinsettias’ history. Here’s a simple list you can read to your kids while they’re crafting.
- Poinsettias are native to Mexico and parts of Central America.
- In Mexico, poinsettias are called “flor de Nochebuena,” which means “Christmas Eve Flower.”
- Poinsettias are named after Joel Roberts Poinsett, the first U.S. Minister to Mexico.
- Joel Poinsett sent poinsettia clippings to the United States in the 1820s, where they quickly became a popular decorative plant.
- We celebrate National Poinsettia Day on December 12, the anniversary of Joel R. Poinsett’s death.
- Contrary to popular belief, the bright red parts of the poinsettia are not petals but leaves called bracts.
- The poinsettia’s flowers are actually the tiny yellow clusters in the middle.
- Poinsettias are not just red! They can also have pink, white, or variegated bracts.
Paper Plate Poinsettia Craft Supplies
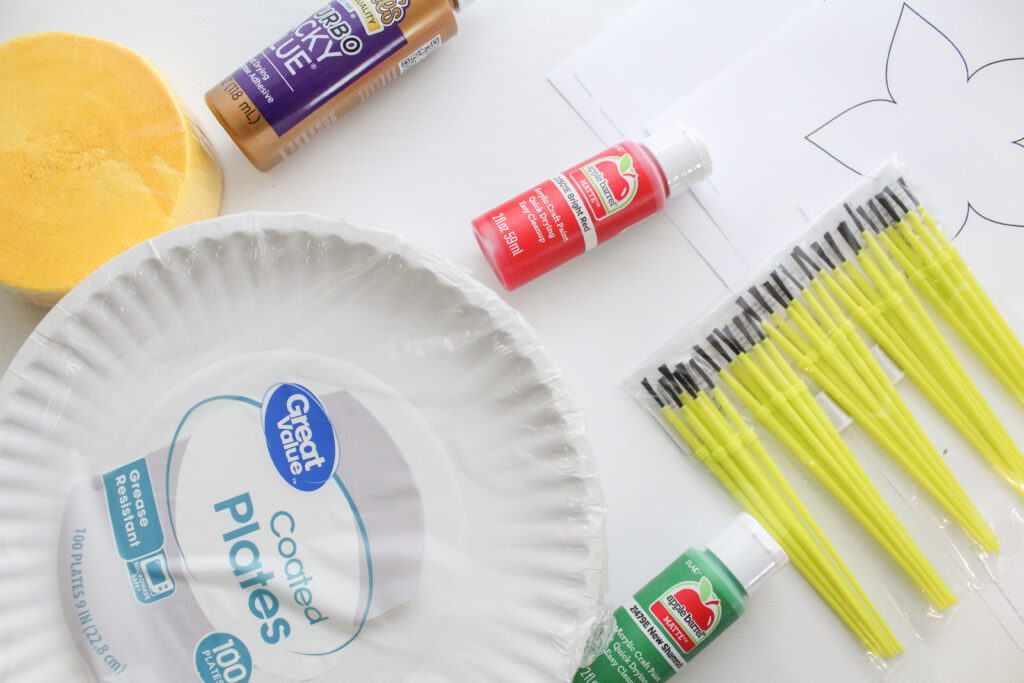
I’m a huge fan of simple crafts that I can customize for all of my different age groups. My kids loved making this paper plate poinsettia craft, and I loved how budget-friendly it was! Here’s a list of supplies to add to your cart. You most likely have some of these at home already.
Plain White Paper Plates: This is one of those times when cheaper is better. The goal is to have the plate “leaves” curl a bit once painted, and cheap plates do the trick! You’ll need approximately 3 plates per poinsettia. If you have leftover paper plates, make this fun paper plate horse craft.
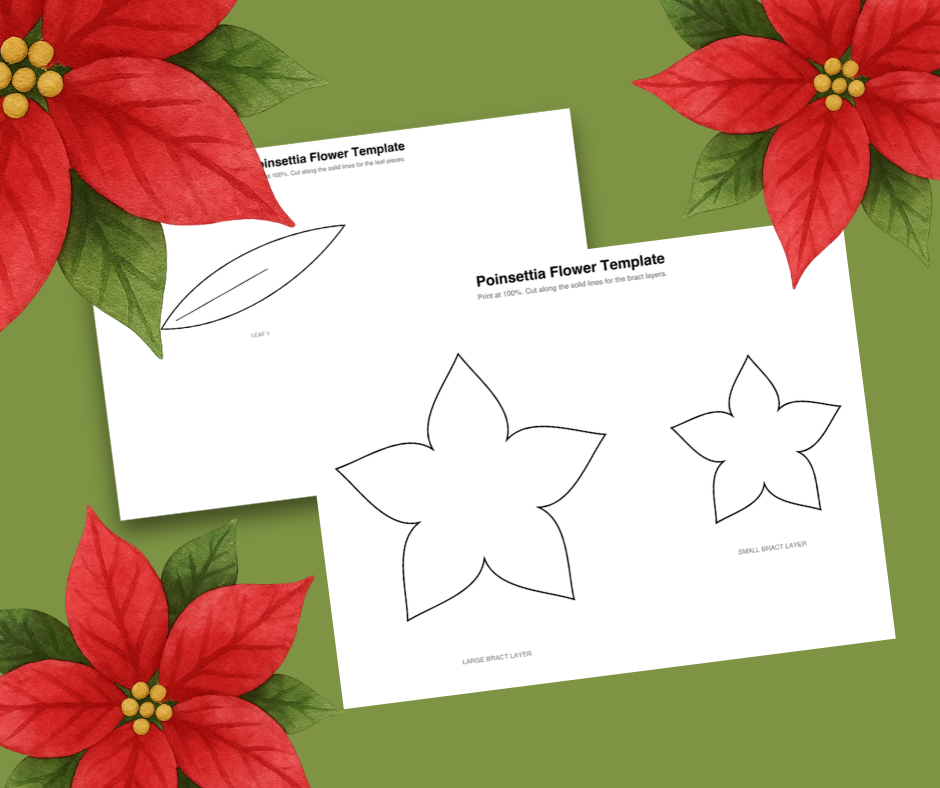
Free Poinsettia Template Printable: Enter your email to receive the free poinsettia template, which makes this craft a breeze!
Paint: For this craft, you’ll need red and green paint, though you can experiment with pink and white if desired.
Paintbrushes: No need to get fancy here. Use whatever paintbrushes you have on hand. Sponges also work well and create a beautiful textured look.
Yellow Tissue Paper: You’ll need something to create the flowers in the middle of the poinsettia. Tissue paper works great, but in a pinch you can use yellow pom-poms, streamers, or even yarn pieces.
Scissors: Keep child-safe scissors on hand for little ones to cut out the template pieces and leaves.
Glue: Stronger craft glue works great for this craft, and I actually prefer using liquid glue over glue sticks. Liquid glue holds the curled plate pieces better.
Optional items that are fun but not necessary include oil pastels for older children to draw veins on the leaves, glitter glue, and ribbon to hang the poinsettia.
How to Make a Paper Plate Poinsettia Step by Step
To make a paper plate poinsettia craft, paint two paper plates red and one green, let them dry about 20 minutes, then trace bract and leaf shapes from a template and cut them out. Layer green leaves on the bottom, glue the red bracts on top, and add yellow tissue paper balls in the center for the flowers.
This step-by-step tutorial makes this one of the easiest paper plate Christmas crafts. Cover your workspace so it doesn’t get messy, make sure your printer has ink, and get crafty! I’ve found it works best to gather supplies before having young children join in.
Step 1: Print and Trace the Poinsettia Template
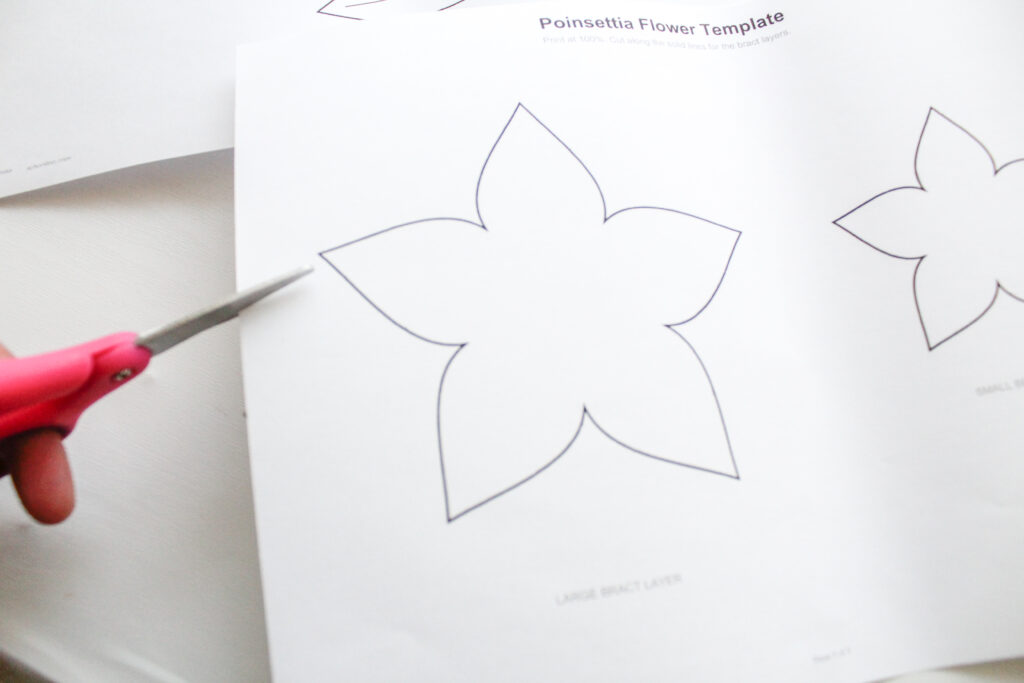
Download our poinsettia template printable. The two-page printable includes a large bract layer, a smaller bract layer, and two leaf pieces. Cut out the template pieces. If you’re doing this with preschoolers, trace and cut the paper plate shapes in advance, too.
Step 2: Paint the Paper Plates
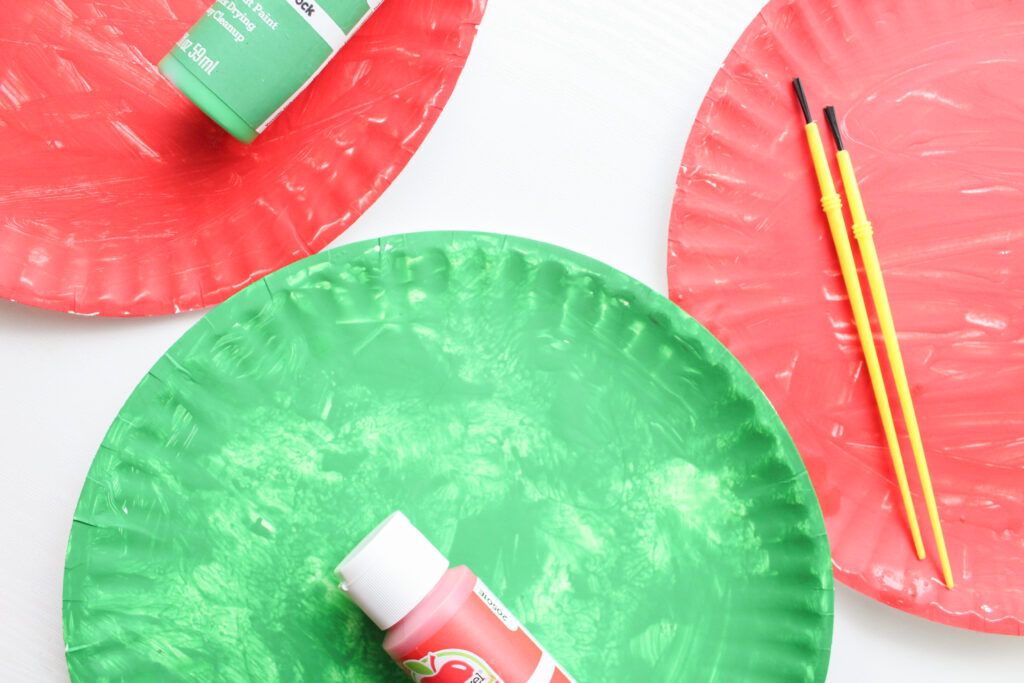
Paint or sponge-paint two paper plates red for the pointed bracts, and another paper plate green for the leaves. Let the plates dry (about 20 minutes) before moving on to the next step. A thin, even coat dries faster than a thick one, so remind little painters that they don’t need to soak the plate.
Step 3: Cut Out the Leaves and Bracts
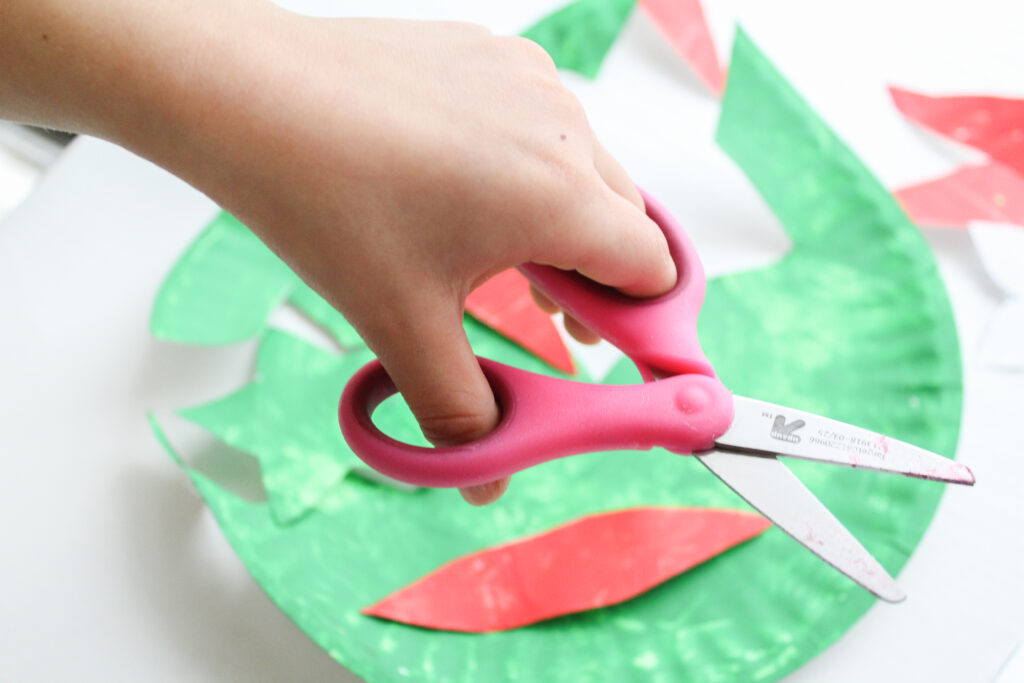
Turn the dried plates over. Use the template to trace the poinsettia bracts on the red plates and the poinsettia leaves on the green plate. Cut along the traced lines. Younger children may need more help with this step, or an adult may need to do it for them.
Step 4: Layer and Glue
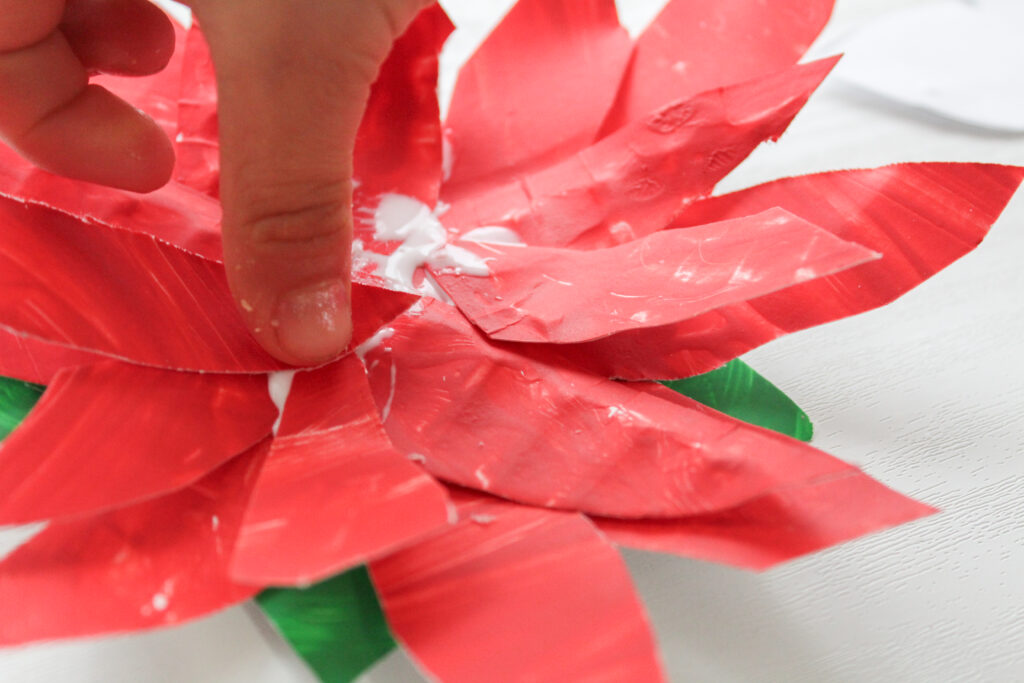
Put the green poinsettia leaves on the bottom, then layer on the larger red bracts, alternating with smaller bracts. Experiment with various arrangements before gluing, then when you’re ready, glue them into place.
Step 5: Add the Yellow Flower Center
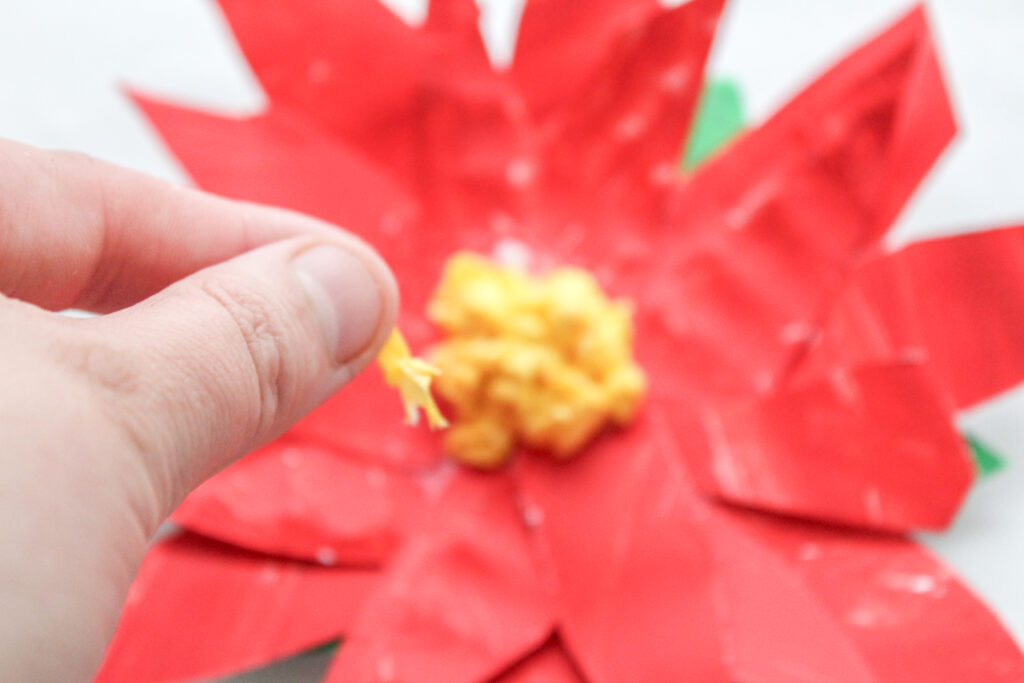
Glue yellow pom-poms, streamers, or tissue paper balls in the center of the poinsettia. This represents the plant’s flowers! Let the glue dry before displaying.
Tips for Different Ages
This paper plate poinsettia craft for kids works for all age groups. Younger children can use just the larger bracts and focus on gluing and spacing. You can pre-cut the pieces to save a lot of time! Older children may want to experiment with different bract colors and techniques, such as sponge-painting vs. watercolors. They can also use oil pastels or crayons to create veins and shadows, making a more realistic poinsettia.
My older kids loved making miniature poinsettias, and my science-savvy son even labeled each part to create a life-sized diagram! This craft is so popular with kids because it lets them create something beautiful. Chances are, your children will want to make more paper flowers once they’re done.
Ways to Use Your Finished Poinsettias
Once you make one paper plate poinsettia, you won’t want to stop! Thankfully, there are many ways to use this festive craft. You can make miniature versions for table toppers and gift tags. Mini poinsettias are also adorable glued to the front of Christmas cards or hung on the Christmas tree.
Arrange several larger poinsettias as a table centerpiece, which looks stunning when you vary the bract colors to include pink and cream. You can also string several poinsettias together to make a colorful garland, glue a ring of them onto a paper plate with the center cut out for a simple wreath, or display a whole batch on a co-op bulletin board.
Extend the Learning: A Mini Poinsettia Unit Study
One craft can become an entire unit study with a few simple additions. However, you don’t have to create a week of extra work for yourself! Here are the supplementary learning activities I include with this poinsettia craft for kids.
Read The Legend of the Poinsettia
Tomie dePaola is one of my favorite children’s authors, and his book The Legend of the Poinsettia has been a great addition to my poinsettia unit studies. This book is a retelling of a Mexican folk tale about a child who brings a humble Christmas Eve gift to the Christ child.
The book has the best illustrations and leads to great discussions. I always ask my kids, “Why was the child worried about her gift?” “What made the gift meaningful?” and “What does this story teach you about generosity?”
Science: Why Poinsettias Turn Red
As your children are painting paper plates, give them a short lesson on how poinsettias get their color. Here’s the gist: The bright red parts of the poinsettia are the bracts, not flower petals. Poinsettias are very sensitive to how much light they receive. When fall nights grow long (about 12 hours or more of darkness), poinsettias start to bloom, and their bracts change from green to red. This response to the length of day and night is called photoperiodism. Just like some animals know it’s time to hibernate, poinsettias know when it’s time to bloom.
You can even show your children a picture of a poinsettia before and after it turns red. Be sure to let your children know that the poinsettia flowers are actually the yellow balls in the middle! For a more in-depth experience, have your children complete our free Life Cycle of a Plant Cut and Paste Worksheet. Younger children can create easy paper flowers using our simple tutorial.
Geography: Christmas in Mexico
Poinsettia crafting is a great way to teach your students about Christmas in Mexico. Remind your children that in Mexico, poinsettias are called “flor de Nochebuena,” which means “Christmas Eve Flower.” Discuss how the legend of the poinsettia helped the flower become associated with Christmas.
Help your students find Mexico on a globe or map, and invite older children to research a Mexican Christmas tradition they’d like to try this year. Younger children can work on the Symbols of Christmas Printable to build writing skills.
More Christmas Crafts for Kids
Want more fun Christmas crafts for kids? Pair a snowy nature walk with pinecone hunting to make our Rudolph Pine Cone Craft. Or, if you’re stuck inside, make this adorable Handprint Elf Craft and watch a favorite Christmas movie. Decorate your Christmas tree with a rustic Popcorn Cranberry Garland, or create your own Clay Nativity Set while reading the Christmas story.
Paper Plate Poinsettia Craft FAQs
You need about three cheap white paper plates, red and green paint, a brush or sponge, scissors, glue, something yellow for the center, and the printable template. No paint on hand? Red and green paper plates or a quick coloring job with crayons or markers work too, though painted plates give the bracts that slight natural curl.
Trace the same template onto red and green construction paper or cardstock instead of painted plates, which skips the drying time completely. Cardstock holds its shape best, and you can gently curl each bract around a pencil to give it some dimension. This version is handy for quick classroom or co-op crafts.
This craft works best for children ages 4 to 10. Preschoolers do best with pre-cut pieces and plenty of gluing practice, while kids around 7 and up can usually trace and cut the plates on their own. Toddlers can join in by sponge-painting the plates while an older sibling or adult handles the cutting.
Poinsettias naturally bloom in December in Mexico, right around Christmas. The Mexican legend tells of a child whose humble gift of weeds turned into bright red flowers on Christmas Eve, which is why the plant is called flor de Nochebuena. Its red and green colors also match traditional Christmas decorations, which helped make it a holiday favorite in the United States.
No! The red pointy parts are bracts, which are modified leaves. The real flowers are the tiny yellow clusters in the middle, and the bright bracts help draw pollinators to those small, plain flowers. That is why the yellow center on your paper plate poinsettia is the actual “flower.”
This Christmas flower craft is inexpensive and totally flexible. Be sure to download the free template, which includes both bract sizes and the leaf pieces. Let your children paint to their heart’s content and enjoy a moment of connection during one of the busiest times of the year. Tell us in the comments how your poinsettias turned out!


