Instant Ice Science Experiment for Kids (Free Observation Sheet)
As an Amazon Associate I earn from qualifying purchases.
If I'm being honest, science is my least favorite subject to teach, especially when we spend weeks on end with our heads in textbooks. That's why I include as many hands-on elements as possible. This instant ice science experiment for kids is one of our most popular because it lets you watch liquid water turn to ice right before your eyes.
Science takes on a magical quality when a bottle that looks totally liquid starts to freeze with one simple tap or a touch of ice. Your students will learn about supercooling and nucleation in simple terms, and I've even included a free observation sheet. The observation sheet turns this supercooled water experiment from a demonstration into a real lesson. I used this for our winter science lessons, but you can also try it to cool off in the summer. Either way, you're in for a “supercooled” time!
What Is the Instant Ice Science Experiment?
Say goodbye to boring science! During this instant ice experiment at home, students discover what happens when bottled water is chilled below its usual freezing point. It's amazing to watch: the water stays liquid while it sits still, but one tap or pour triggers rapid freezing.
A quick heads-up: the water doesn't turn into a solid block in one split second. Instead, ice crystals spread through it, which makes it look slushy or frosty. This experiment is exciting because kids watch a change of state happening right in front of them! Even my most impatient children liked this activity because the result was immediate, and it turned an abstract concept into something they could see and touch.
At a glance:
- Best for: Grades 2–6 (younger kids can watch and draw their observations)
- Prep time: About 2 to 2½ hours of freezer time, plus 15 minutes for the experiment
- Difficulty: Easy, but it may take a couple of tries to get the timing right
- Cost: A few dollars for bottled water
The Science Behind Instant Ice (Explained for Kids)
The instant ice science experiment for kids may look like magic, but it has a totally logical explanation. Here's the exact script I used to explain supercooled water and nucleation science to my kids without them saying, “Huh?”
What Is Supercooled Water?
Water normally freezes at 32°F (0°C), but under the right conditions, clean, undisturbed water can get colder than 32°F and stay liquid. This is called supercooling! In liquid water, molecules move around freely. To form ice, they have to line up in an orderly pattern. If there's no good place for the first ice crystal to form, the water stays liquid.
It's like playing tag. Everyone is ready, but someone has to make the first move. The tap or pour gives the supercooled water the trigger it needs to start forming ice crystals. Once the first crystals form, the others quickly join the game!
What Causes Instant Freezing? (Nucleation)
Nucleation is the beginning of ice crystal formation. Like we just learned, water needs a starting point, called a nucleation site, before ice crystals can form. Triggers can be an existing ice crystal, a vibration or sharp tap, or tiny particles and minerals in the water. This is why purified bottled water works best. Minerals and other particles in tap water can give crystals a place to form before you're ready.
When you tap your supercooled bottle or pour it onto ice, the trigger starts a chain reaction, and ice crystals spread through the water. It's a lot like dominoes: one domino tips and knocks over the whole line.
What You'll Need
I love science experiments that are both frugal and fun. This one uses things you already have at home. Just add a few bottles of water, and you're set! Here's your checklist:
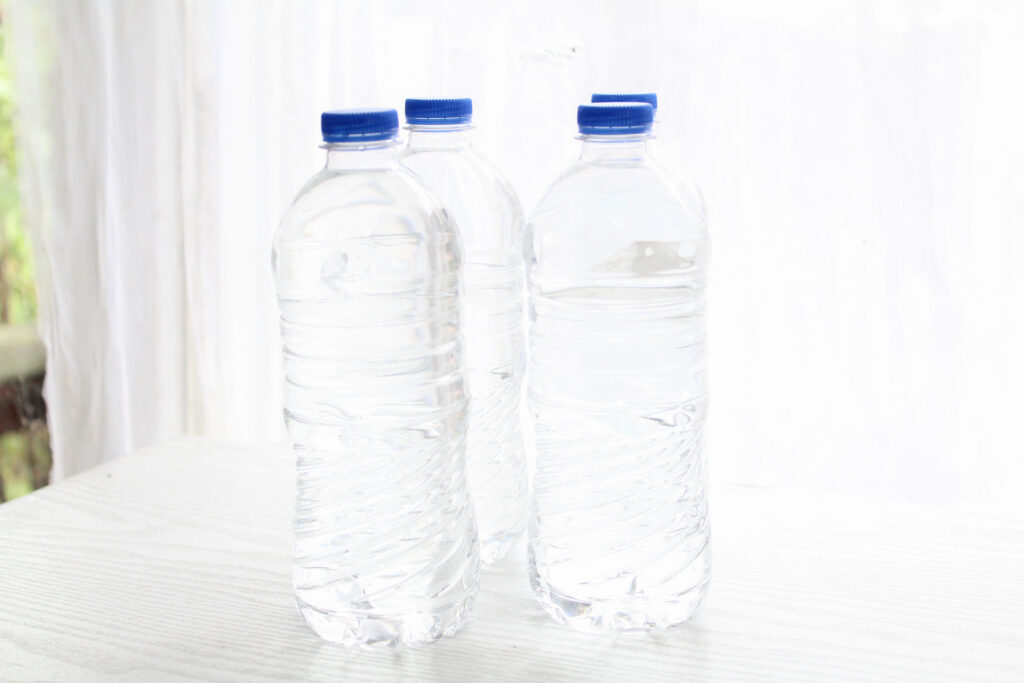
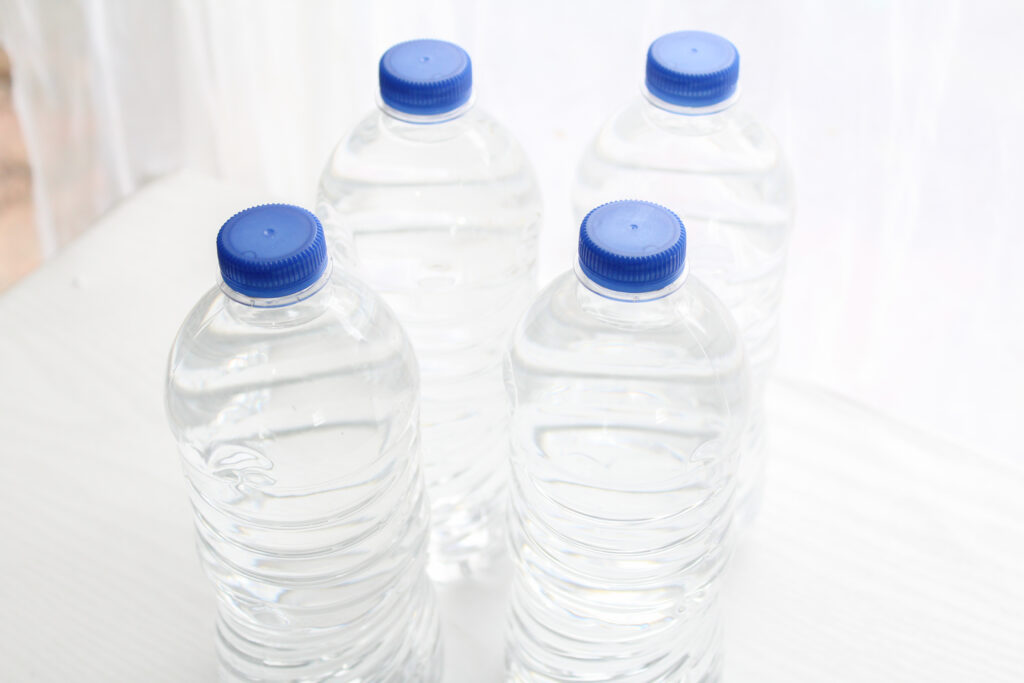
- Bottled purified water: Use unopened, store-bought purified water in plastic bottles for the best results. I recommend buying several bottles so your kids get more than one chance to get it right.
- Ceramic or glass bowl and a metal tray or cookie sheet: Great for containing water messes.
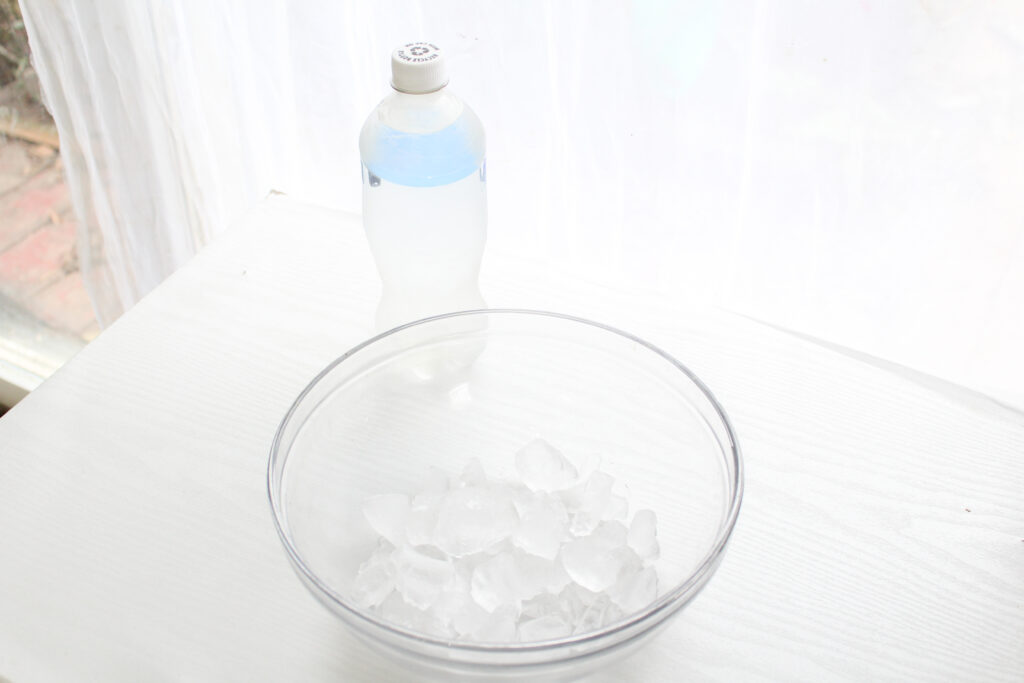
- Ice cubes: Optional, for the ice tower method.
- Freezer
- Timer
- Freezer thermometer: Optional, but handy for troubleshooting.
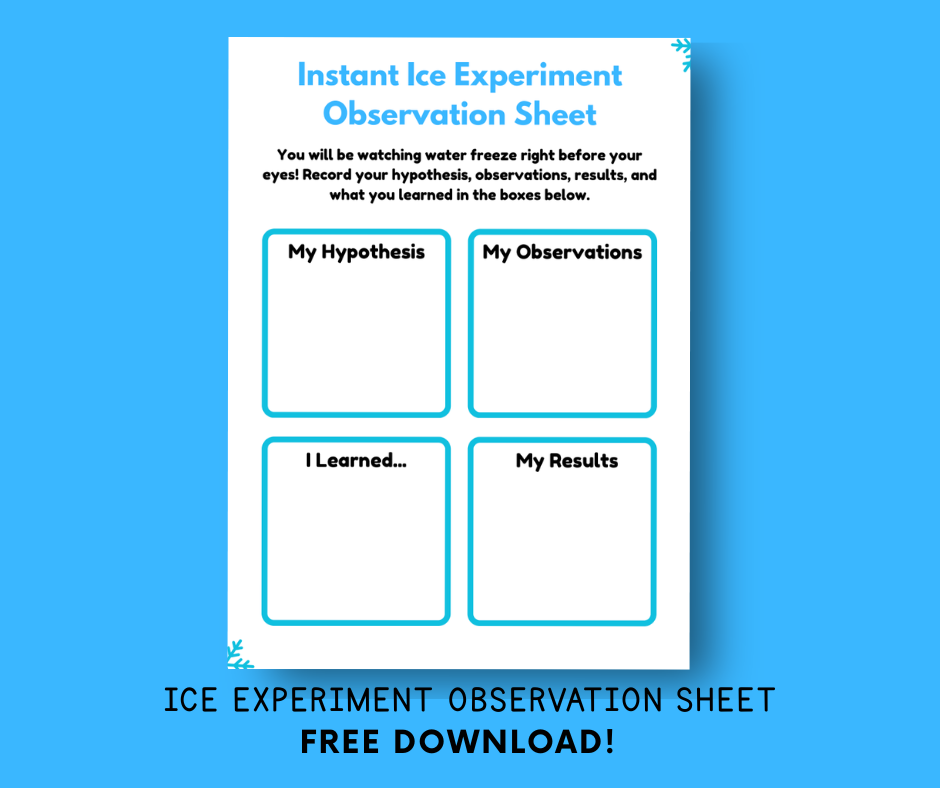
- Free observation sheet and a pencil
How to Do the Instant Ice Science Experiment for Kids (Step by Step)
The part of this water freezing experiment kids will love is that it comes with real variables. Climates, water brands, and freezers all vary, so keep backup water bottles on hand in case you need to adjust the timing. Here's my tried-and-true method.
Step 1: Chill the Water Bottles
Put unopened bottles of purified water in the freezer. Keep the bottles upright and space them out so you can remove them without bumping them. Don't shake or open them! Set a timer for two hours. And keep your kiddos out of the freezer!
Step 2: Check the Water
After two hours, check your water bottles without shaking or squeezing them. If every bottle is still liquid, keep freezing them for 10 to 15 minutes at a time, then check again. If one bottle has frozen, that's a timing clue! The other bottles are probably close to ready.
Step 3: Set Up the Ice Tower (Optional)
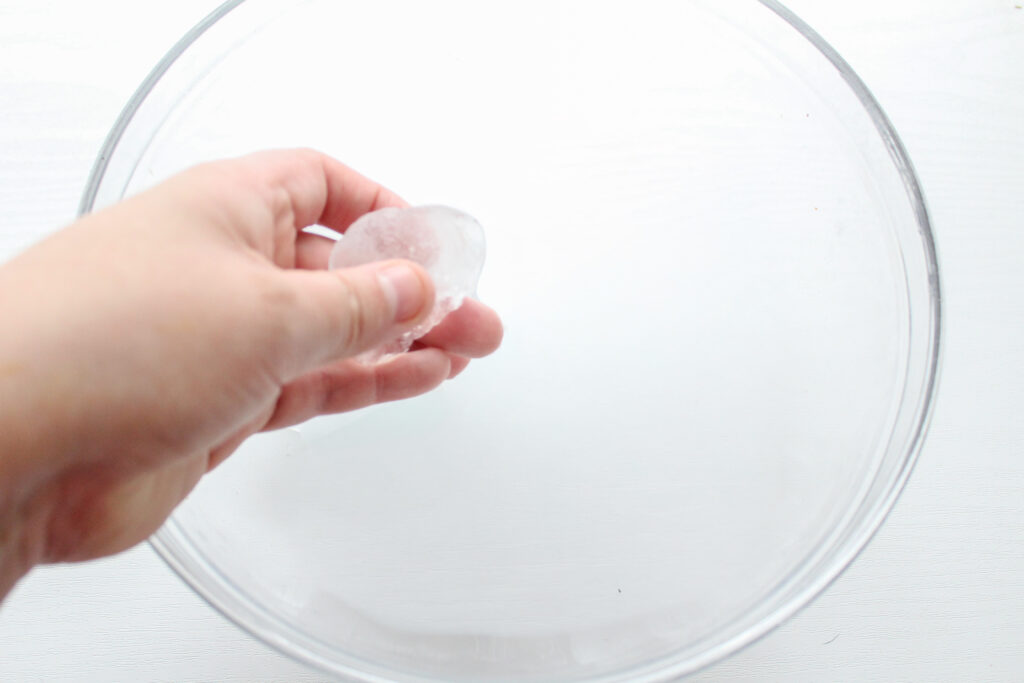
If you want to try the ice tower method, put an ice cube in a large bowl and set the bowl on a shallow tray on a stable surface. Have your observation printable ready, because the reveal happens quickly!
Step 4: Trigger the Instant Freeze
Bottle-tap method: Carefully remove a supercooled bottle from the freezer. Give the bottle a firm tap against a stable surface, or tap its side. Ice crystals will spread through the water! This is the big reveal your kids will go wild for.
Ice tower method: Gently open a supercooled bottle and slowly pour the water over the ice cube. Watch the water freeze as it touches the ice and build an icy mound!
Have your children watch where the freezing begins and how quickly it spreads. On their observation sheets, they can record whether the result was liquid, slushy, crystallized, or already frozen.
Troubleshooting: What to Do If It Doesn't Work
Bummer, the experiment was a flop? It happens! I wrote down our results after a few failed attempts and came up with these fixes.
The water froze solid in the freezer: You probably left the bottle in too long, or your freezer runs colder than expected, so two hours was too much. Cut your cooling time by 10 to 15 minutes next time.
The water stayed liquid: If the water stayed liquid after you tapped it, it may not have gotten cold enough. Return an unopened test bottle to the freezer for another 10 to 15 minutes, then try again. My freezer ran warmer than most, so I had to put my bottles toward the back instead of near the door.
The water started freezing before the reveal: You may have accidentally jostled the bottle, or a mineral or impurity gave the ice a place to start. Next time, hold the bottle near the top and move slowly.
Tap water didn't work: Tap water isn't recommended because it contains dissolved minerals and other particles that give ice crystals a place to form before your reveal. Repeat the experiment with bottled purified water.
None of the bottles worked: Try several more bottles and stagger when you take them out of the freezer. Use a freezer thermometer to check that your freezer is around 0°F (-18°C), which is the standard setting for home freezers. You can also try a different brand of purified water. Treat your failed attempts as a learning experience and record what happened. Eventually, you'll get it!
Check for Understanding: Discussion Questions
Sometimes it's hard to tell if my kids are just enjoying the experiment or actually remembering what we learned. Here are the discussion questions I use to check their understanding:
- What does it mean when water is supercooled?
- Why did the water stay liquid even though it was below its normal freezing point?
- What made the water start freezing?
- Why is purified water more reliable for this experiment?
- What would you change next time we do the experiment?
Feel free to mix and match the questions or adjust them for each grade level.
Free Observation Printable
I created this free observation printable when I felt our lesson needed one more thing to feel complete. It turns this demonstration into a full science lesson with minimal prep work! It includes spaces for students to write a hypothesis, record observations and results, and note what they learned.
Younger children can draw pictures, and older students can write a few sentences. Record both successful and unsuccessful attempts, because unexpected results totally count as scientific observations.
Grab the free observation sheet by submitting your email in the box below.
Frequently Asked Questions
In a typical home freezer, supercooled bottled water usually drops several degrees below 32°F (0°C) while still staying liquid. The exact temperature depends on your freezer, the water, and how long the bottle chills. That's why timing can change from one freezer to the next.
Yes! Soda is a popular one. A sealed bottle of soda can be supercooled in the freezer, and when you open it, the escaping carbon dioxide bubbles act as nucleation sites and turn it into instant slush. Just keep a close eye on it, because a soda bottle left too long can freeze solid and burst.
It does. Clouds often contain tiny water droplets that are colder than 32°F but still liquid. When supercooled raindrops hit a cold surface like a road, tree branch, or power line, they freeze on contact. That's how freezing rain forms a coating of ice, which is a great real-world connection for kids.
Yes. Let the bottle thaw completely at room temperature until there are no ice crystals left, then put it back in the freezer and try again. Any leftover ice will act as a nucleation site and make the water freeze too early, so make sure it's fully melted first.
Water expands when it freezes. If a bottle freezes solid in the freezer, a glass bottle can crack or shatter, while a plastic bottle will usually just bulge. Stick with unopened plastic bottles of purified water to keep this experiment safe and easy to clean up.
More Winter Science Experiments for Kids
Can't get enough winter science experiments for kids? Same here! And with cold temperatures outside, hands-on experiments are the best way to beat the winter doldrums. We love these science experiments with water because there are so many options to choose from. No matter what I do (or don't!) have on hand, there's something that fits my capacity.
Around Christmas, I pull out this life cycle of a pine tree unit study, which includes a fun activity where you make your own pine cone bird feeder. It's a really fun change of pace from our normal Christmas cookies and St. Nicholas read-alouds. And if your kids loved watching ice form, they'll enjoy these icy penguin activities for kids too.
This instant ice science experiment for kids is a fun way to turn an ordinary bottle of water into an unforgettable science lesson. If your water doesn't freeze on command the first time, adjust and try again! Download the free observation sheet to record each attempt, and let me know in the comments how your kids reacted to the big reveal.