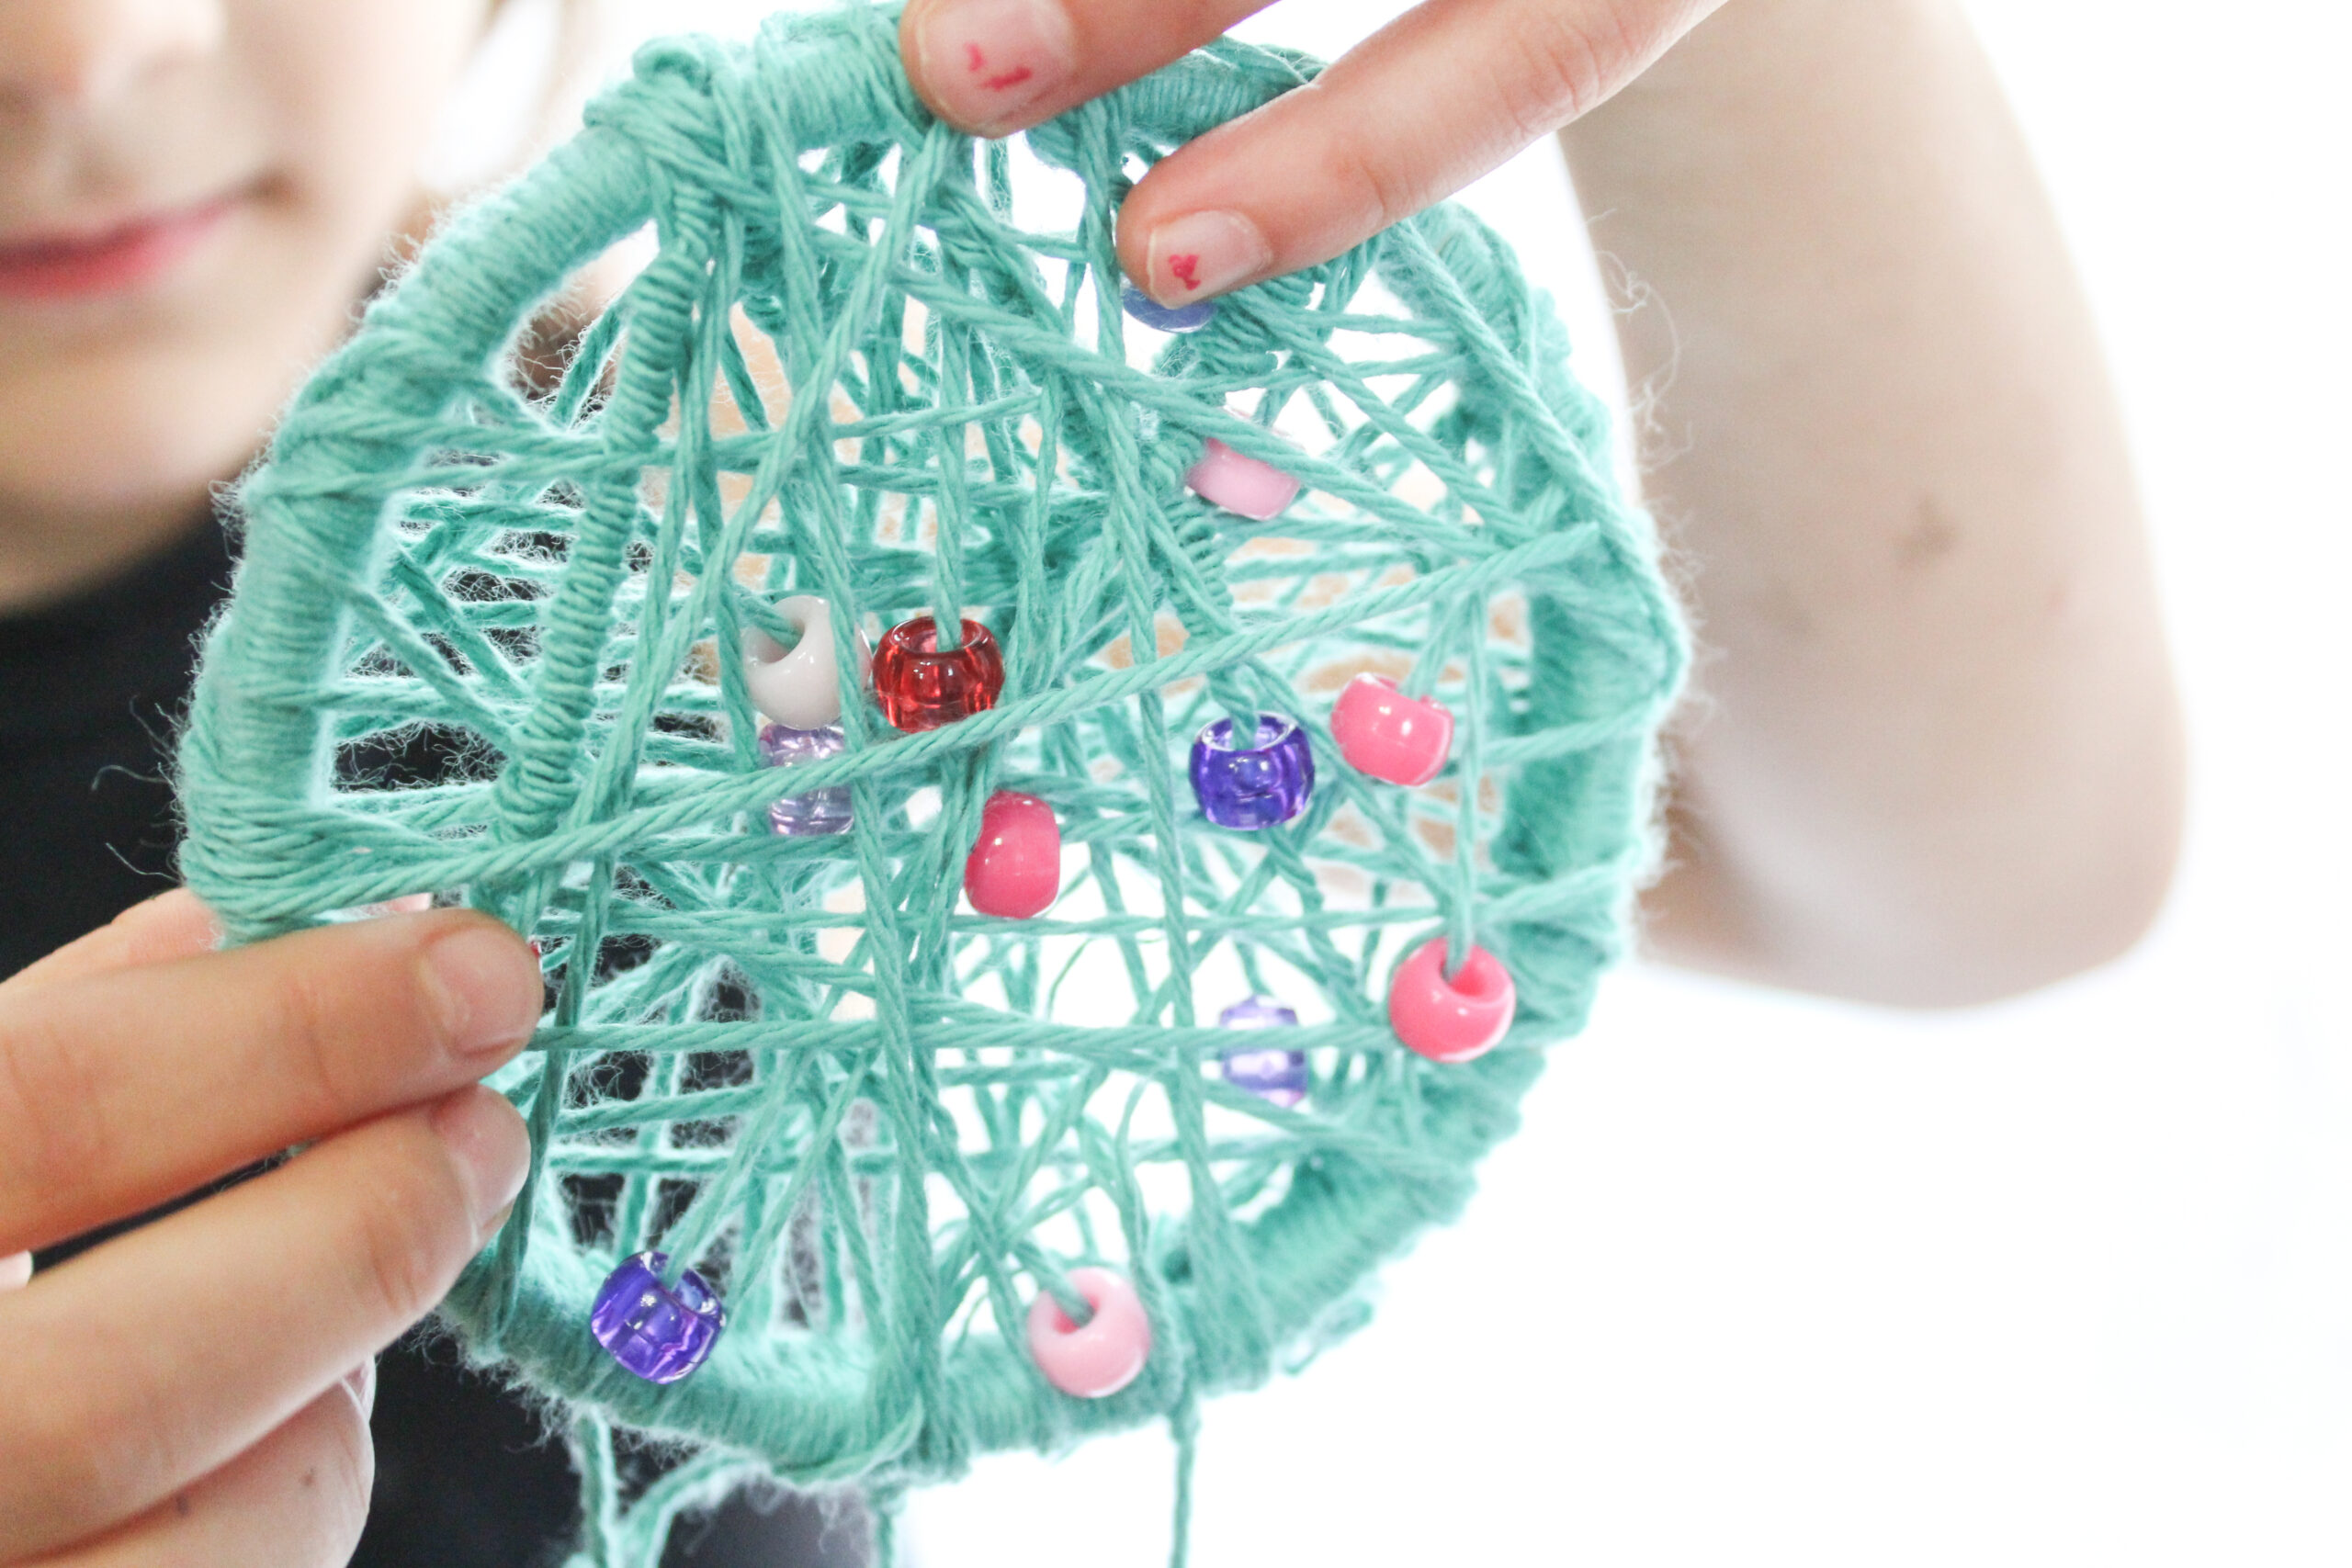
How to Make a Dream Catcher for Kids (Easy Step-by-Step Tutorial)
As an Amazon Associate I earn from qualifying purchases.
If you’re wondering how to make a dream catcher for kids, this simple tutorial will walk you through every step. Making dream catchers was one of my favorite things to do as a child, and it was a must-do with my own students. However, most of the tutorials I found used branches and seemed too complicated for me to handle. After one failed attempt with my children, I put my own spin on this classic craft.
I use inexpensive supplies you can find at your local craft or grocery store. My elementary-aged children completed this project easily, with a little help from me tying knots. With Native American Heritage Month coming up in November, I highly recommend bookmarking this post so you can give your kids a fun surprise. I’ve also included a brief history of dream catchers and a few favorite read-alouds, so you can turn this craft into a whole lesson!
What Is a Dream Catcher? (A Brief History for Kids)
Dream catchers come from the Ojibwe people, part of the larger Anishinaabe cultural group of the Great Lakes region. Traditionally, dream catchers were made with a small hoop of bent willow and a web woven from plant fibers or sinew. Ojibwe families hung them above a baby’s cradle or a child’s bed, believing the web would catch bad dreams and harmful things while letting good dreams pass through. Ojibwe tradition connects the dream catcher to Asibikaashi, the Spider Woman, who watched over the people and especially the children. Over time, dream catchers spread to many other Native nations, and you’ll still see them in many homes today. As we make our own modern dream catchers with craft-store supplies, it’s a great chance to talk with kids about the Ojibwe people who created this tradition and why it matters to them.
What You’ll Need to Make a Dream Catcher
Many of the dream catcher tutorials I came across required branches, which really upped the difficulty! This version isn’t a traditional Ojibwe dream catcher, but it is manageable for kids, which is a great trade-off in my opinion.
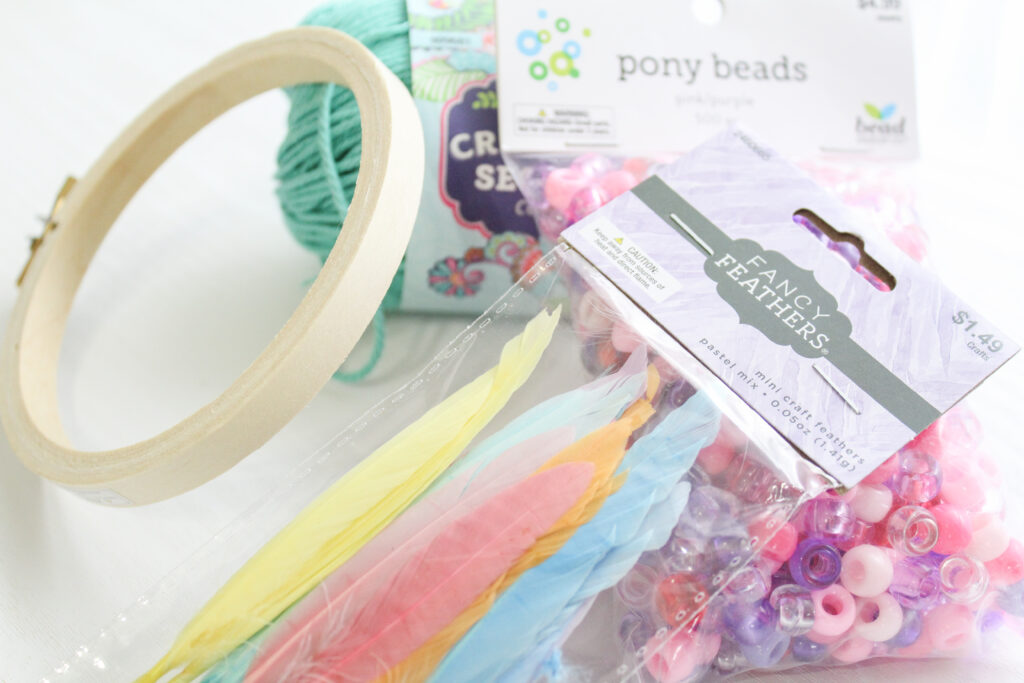
Here are the dream catcher materials for kids you’ll need:
- An embroidery hoop: Much easier than trimming and bending fresh branches! A 4- to 6-inch hoop works well, and a 4-inch hoop is great for younger children. You can buy them in bulk to save money.
- Yarn or soft twine: I love the look of thick, colorful yarn in dream catchers. Thicker yarn is also easier for little hands to untangle. Precut several strands for younger children to save time.
- Beads: I use pony beads because their large holes make threading them a breeze. The multicolored pack was a huge hit with my students!
- Craft feathers: Another easy find at your local craft store.
- Scissors
- Glue dots or craft glue (optional): Helpful for securing knots.
This doesn’t need to be an expensive craft. Use leftover yarn, ribbon, and beads whenever possible. Tip: wrap a small piece of tape around the end of each yarn strand to make a stiff “needle” that’s easier for little fingers to push through the beads.
How to Make a Dream Catcher for Kids (Step by Step)
Here’s how to make a dream catcher craft for kids in four easy steps. I’m a visual learner, so I included photos to show the process. Pro tip: have your children choose their colors and decorations before you begin. It keeps the craft moving smoothly and prevents sibling squabbles!
Step 1: Wrap the Hoop
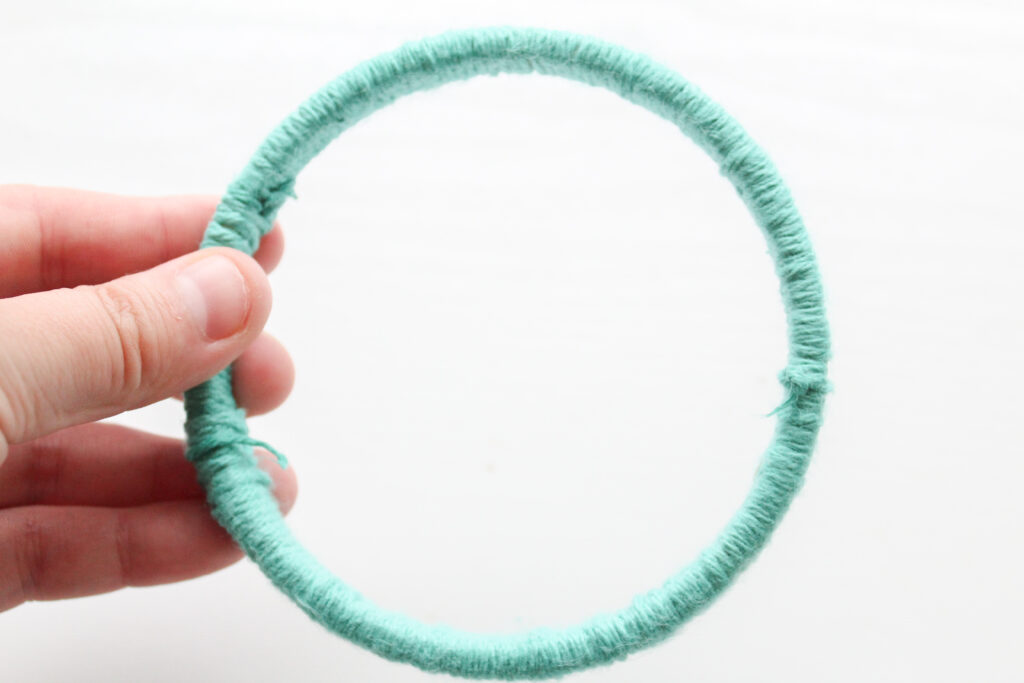
Separate your embroidery hoop and use the inner or outer ring as the base. Tie one end of the yarn to the hoop and wrap it around the frame, keeping each wrap close to the last.
Push the wraps together if needed so there aren’t any bare spots. Tie off the yarn when the hoop is totally covered. If you want, add a small glue dot to secure the knot. Or, to keep it simple, leave the wooden hoop uncovered.
Step 2: Create the Web
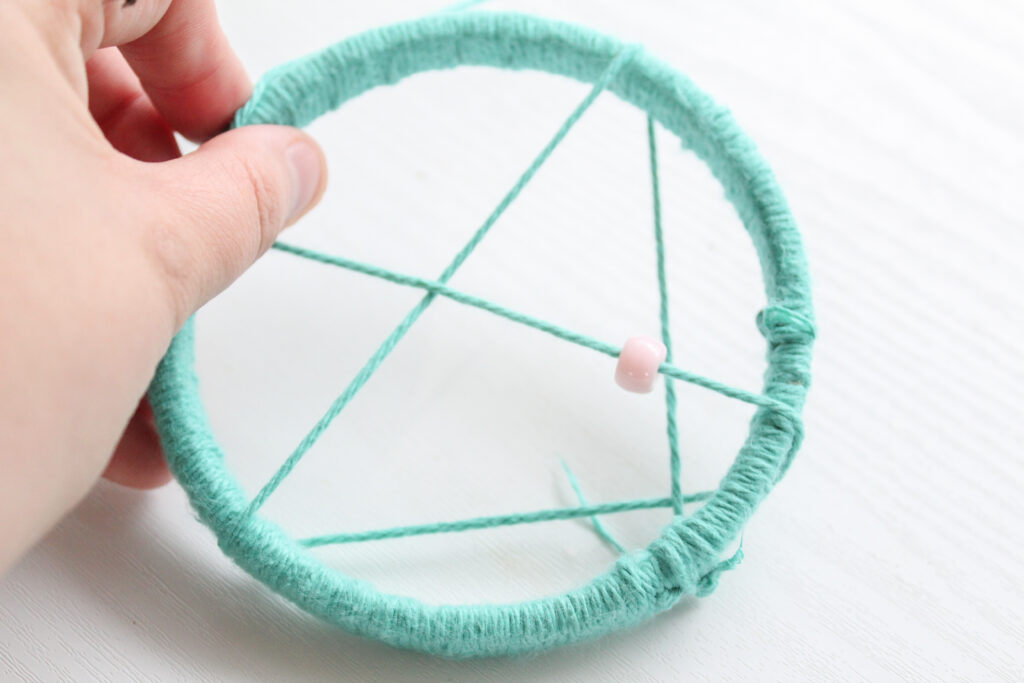
Next, tie a new piece of yarn to the hoop. Stretch it across the hoop and wrap or knot it on the other side. Keep moving around the hoop, crossing back and forth to create a star-shaped web. I turned the hoop while my kids worked so they didn’t have to reach awkwardly.
If you want to make your dream catcher extra fancy, thread pony beads onto the yarn before crossing the center. Pull the yarn taut, but not super tight, or the hoop will bend and the yarn may snap! When the web looks full, tie the yarn off securely.
Step 3: Add the Hanging Decorations
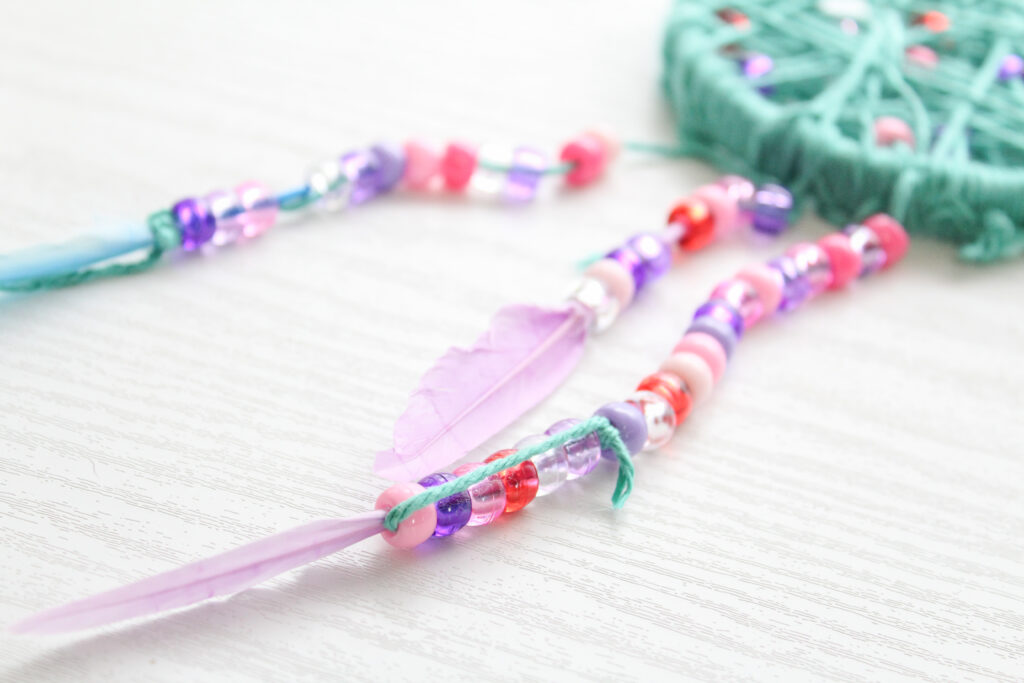
To add hanging decorations, kids can cut three to five strands of yarn in different lengths and tie them along the bottom of the hoop. Thread pony beads onto each strand and knot a feather at the end. I found that adding a tiny drop of glue to the knot, or tucking the knot up inside the last bead, keeps the feathers from slipping out.
Step 4: Add a Hanger
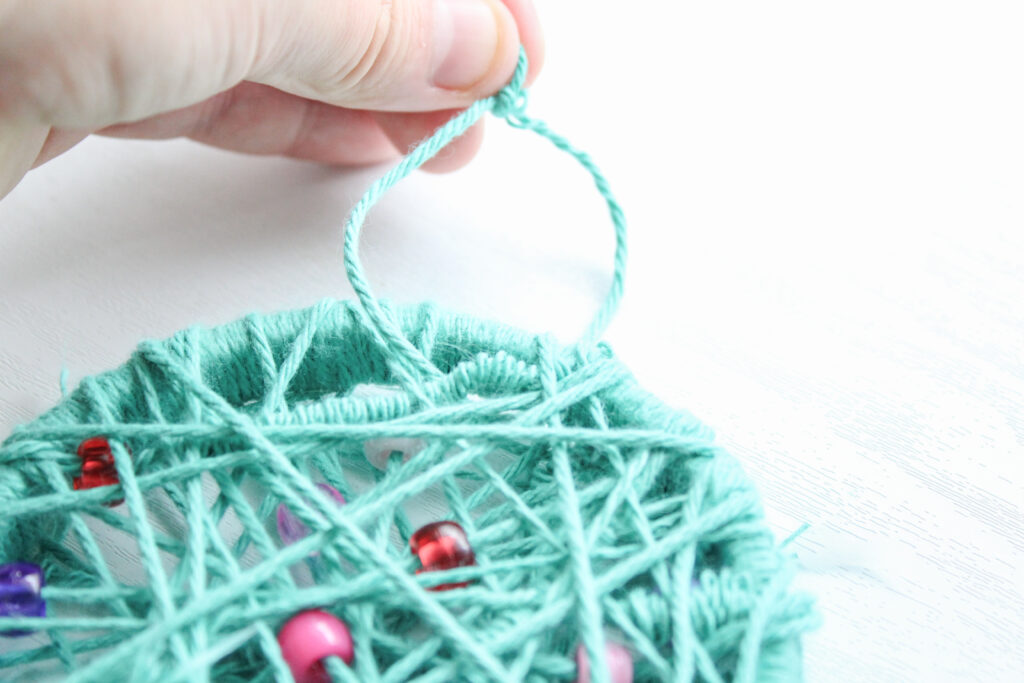
Last, cut a short piece of yarn or ribbon and tie both ends to the top of the hoop to make a loop. Check that all your knots are secure, then hang the finished dream catcher where your child can easily see it.
Dream Catcher Variations and Ideas for Kids
If your students are anything like mine, they love being different from each other. Here are some variations we’ve tried for an easy dream catcher kids can make on their own. As far as Native American crafts for kids go, this might be the easiest!
Nature-Inspired Dream Catcher
For a nature-inspired twist, use yarn, beads, and feathers in greens, browns, and other earthy colors. You can also swap beads for small shells and hot glue dried flowers to the web. I highly recommend taking your kids on a nature walk to gather supplies! For more ideas, try these fall nature crafts for kids, which work all autumn long.
Rainbow Dream Catcher
If you have lots of spare yarn on hand, use it to make a bright rainbow dream catcher. Wrap sections of the embroidery hoop in different colors and arrange your pony beads in rainbow order. This is a fabulous option for practicing colors with younger children.
Mini Dream Catcher
Little ones will love making a miniature dream catcher for their dolls. Use a small 3-inch embroidery hoop and keep the dangling strands shorter. It’s not just for dolls, though! Hang it on a bulletin board, clip it in the car, or put it in your child’s dollhouse as tiny wall decor.
What to Read About Native American Culture
I love pairing Native American Heritage Month crafts with read-alouds about Native American cultures. It can be hard to find books that accurately represent Native communities, so I look for ones written by Native authors. Here are our favorites:
- We Are Water Protectors by Carole Lindstrom: We read this one again and again. Written by an Ojibwe author, it follows a young Ojibwe girl who stands up to protect the water from a “black snake” (a pipeline), inspired by Indigenous-led movements to protect water. It won the Caldecott Medal for its gorgeous illustrations.
- Bowwow Powwow by Brenda J. Child: My younger students love this one, and it makes children feel like they’re at a real powwow. I love that it includes an Ojibwe translation alongside the English text, which is a perfect tie-in to the Ojibwe origins of dream catchers.
- We Are Grateful: Otsaliheliga by Traci Sorell: If your children want to learn more about the Cherokee, start here. It walks through a year of Cherokee celebrations and everyday moments of gratitude. It’s written for ages 3 to 7, but my older children loved it too! Traci Sorell is a citizen of the Cherokee Nation.
- Fry Bread: A Native American Family Story by Kevin Noble Maillard: Your little foodies will adore this story written in verse. It celebrates fry bread and the families who gather around it, and it has the cutest illustrations. Of course, I had to serve warm fry bread with jelly as our snack that day!
Want to keep going? The First Strawberries activities pair beautifully with Joseph Bruchac’s retelling of a Cherokee legend.
Frequently Asked Questions
Plan on about 30 to 45 minutes for most kids, depending on their age and how many beads they add. Wrapping the hoop usually takes the longest. If you use glue on the knots, give it a few extra minutes to dry before hanging.
This craft works well for kids in kindergarten through 5th grade. Younger kids usually need help tying knots and keeping the web tight, while older kids can often finish on their own. Using a 4-inch hoop and thick yarn makes it easier for small hands.
Views vary among Native people, but most educators agree the key is respect. Teach kids where dream catchers come from, avoid calling a craft version “authentic,” and treat it as a learning activity rather than a product to sell. If you want a traditional dream catcher for your home, consider buying one from a Native artist.
Traditionally, dream catchers were hung above a baby’s cradle or a child’s bed. Many families today hang them in a bedroom window or above the bed. Just make sure it’s hung safely out of reach of babies and toddlers, since beads and feathers can be choking hazards.
Yes! Cut the center out of a paper plate to make a ring, then punch holes around the edge. Preschoolers can lace yarn back and forth through the holes to make the web, then glue on feathers. It’s a great fine motor activity and much easier than tying knots on a hoop.
More November Homeschool Activities
Because it’s a holiday month, November is the perfect time to have a little fun! One of my favorite ways to spice things up is with seasonal activities. Half the time, my kids have so much fun they don’t realize they’re learning.
For example, my daughter loved these Thanksgiving writing prompts, which had us laughing. My older students had a blast with this Thanksgiving lapbook, an easy activity thanks to the free printable! And to remember the sacrifices it took for us to be a free nation, a Veterans Day celebration is a must.
Getting a head start in October? Our free Columbus Day worksheets for kids are a great way to expand your history and geography studies before November rolls around.
Learning how to make a dream catcher for kids is a wonderful way to bring hands-on creativity to your fall studies. As your children craft, talk about the deeper meaning behind this tradition, then pick up a good book to keep the learning going. I’d love to see your kids’ creations, so tell me in the comments which colors they chose!